
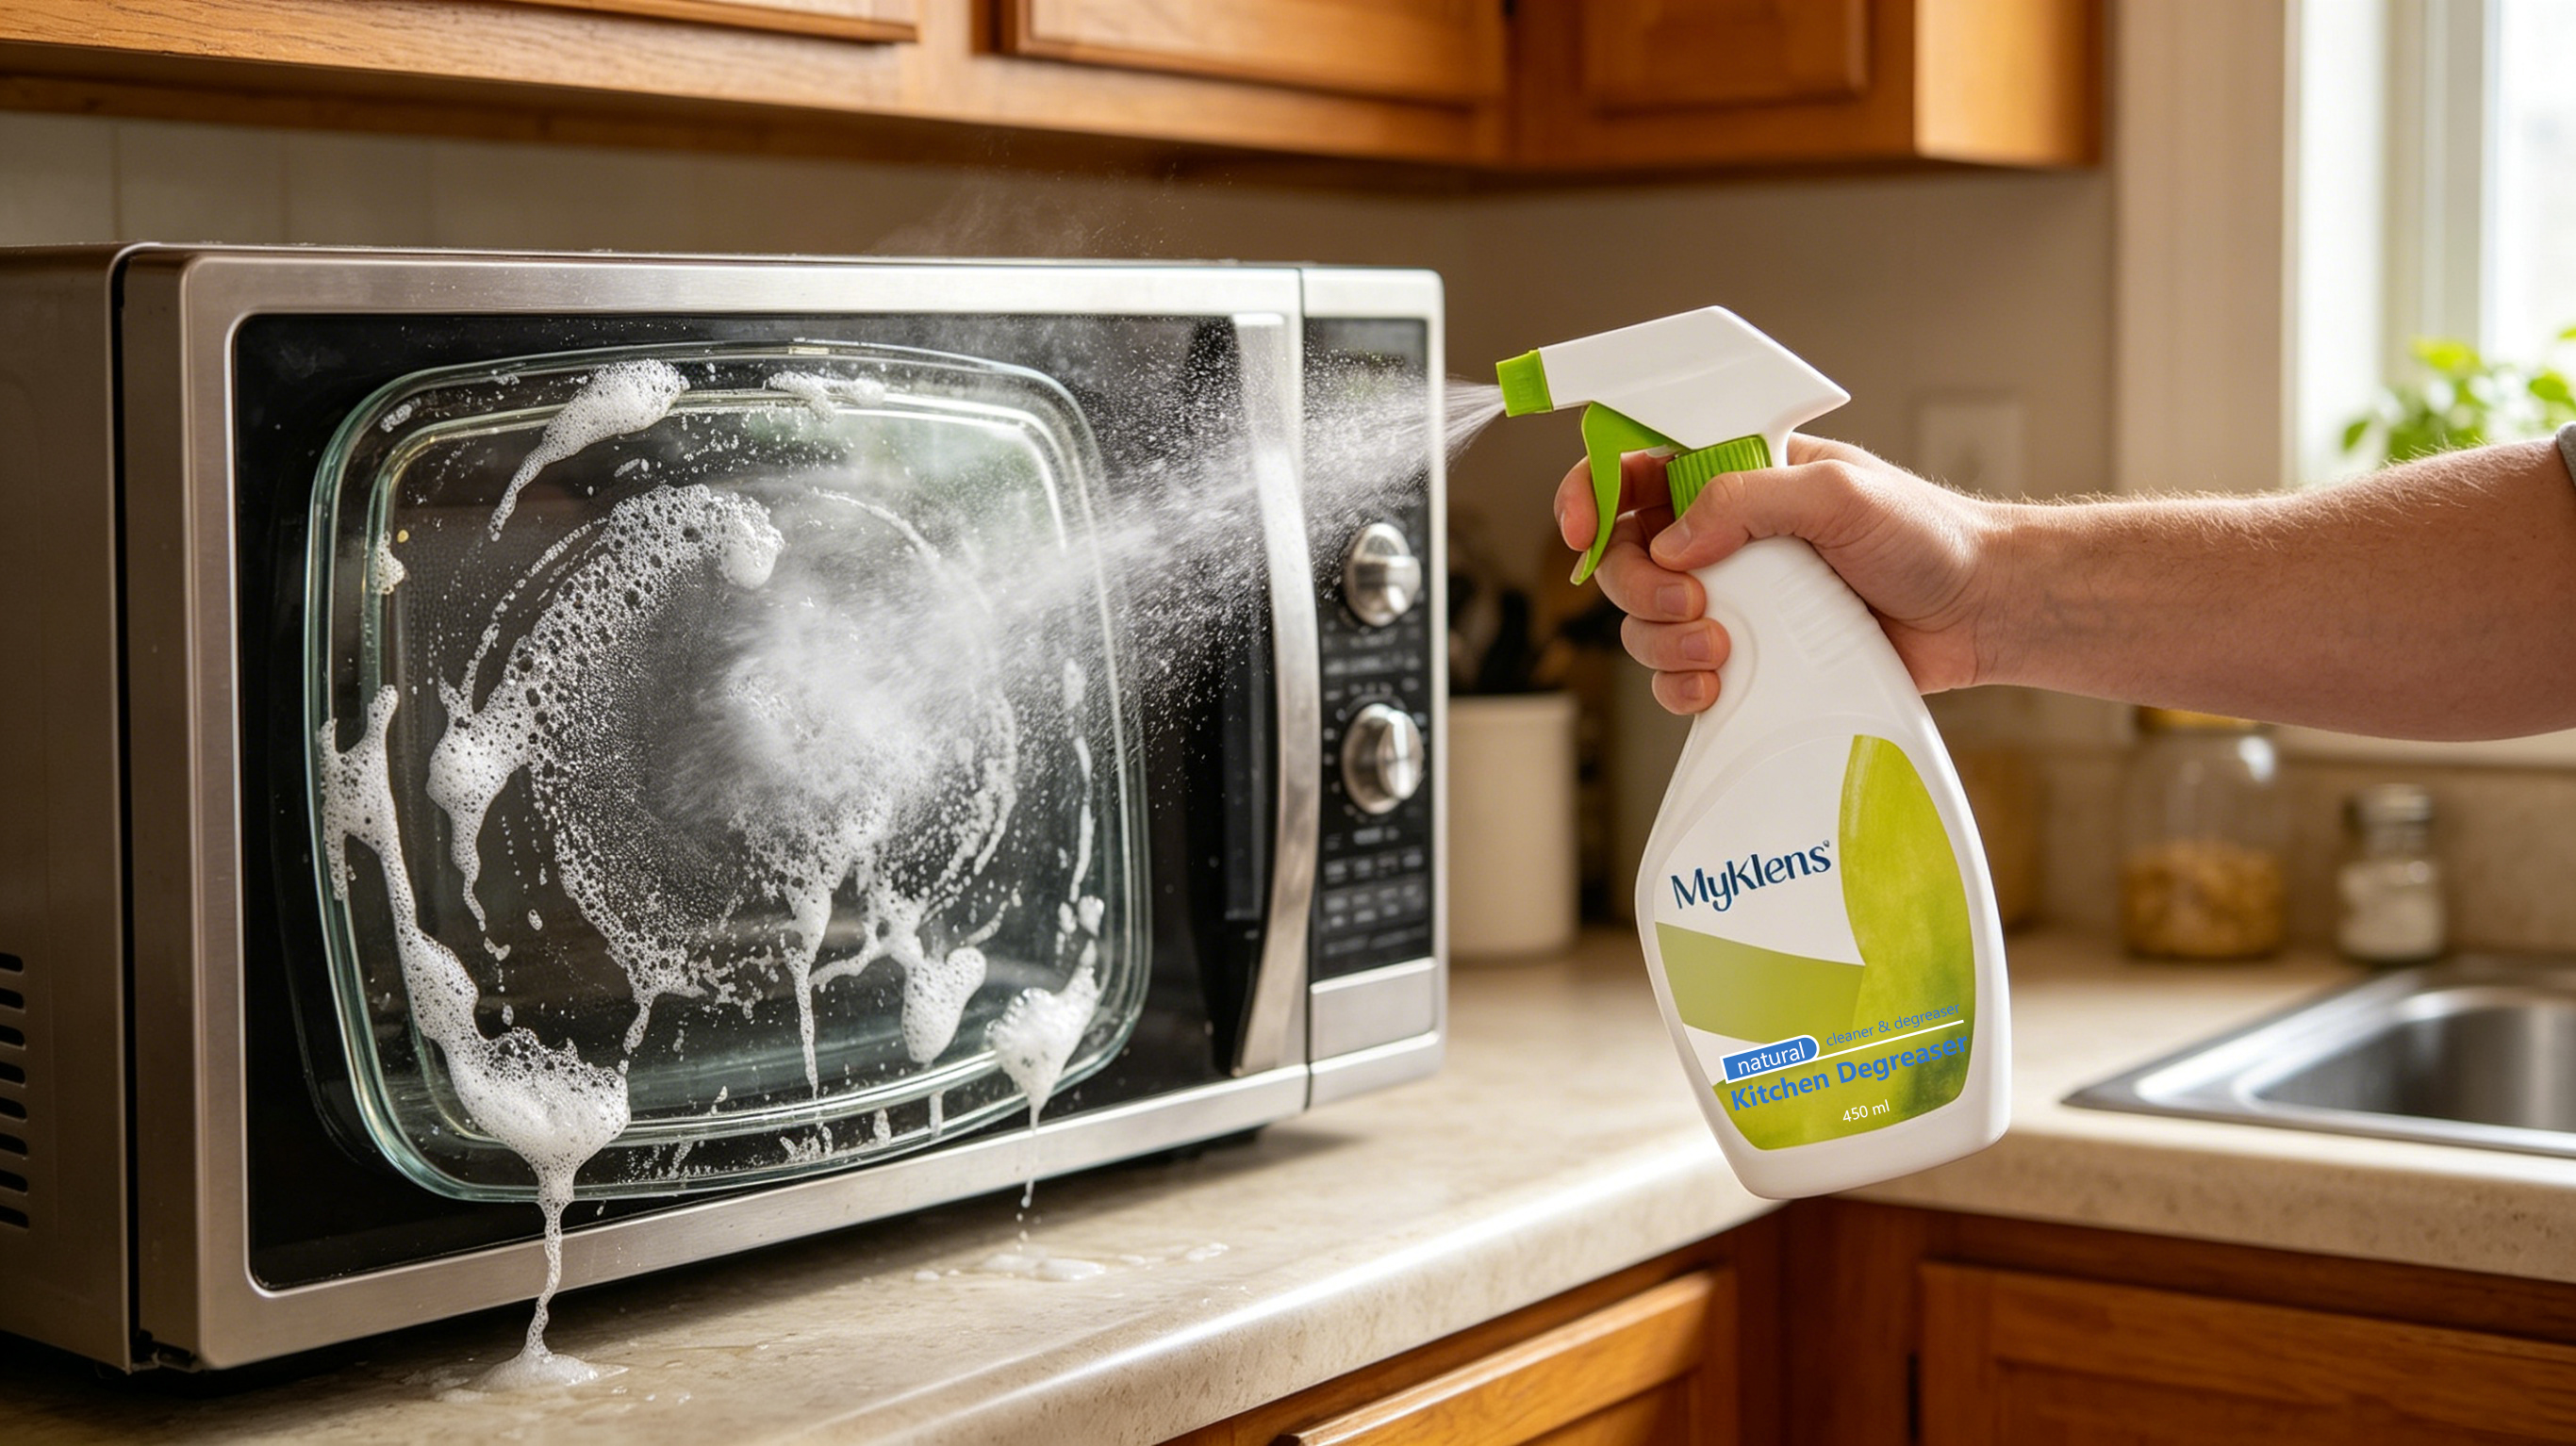
Why That Stubborn Grease Won't Budge (And Why You Shouldn't Feel Bad About It)
Last Tuesday, I spent twenty minutes scrubbing the backsplash behind my stove. Twenty minutes. For a space roughly the size of a laptop screen. My arm ached, I'd gone through half a roll of paper towels, and the greasy residue from weeks of stir-frying was still visibly mocking me.
Here's what I didn't understand then: kitchen grease isn't just dirty—it's chemically stubborn.
When you cook, especially at high heat, oils don't just sit on surfaces. They polymerize, essentially bonding to your cabinets, stovetop, and range hood in a way that water and regular dish soap simply cannot break down. It's not a matter of elbow grease (pun intended)—it's a matter of chemistry.
This is precisely why kitchen degreasers exist, and why they've become an indispensable tool in my cleaning arsenal.
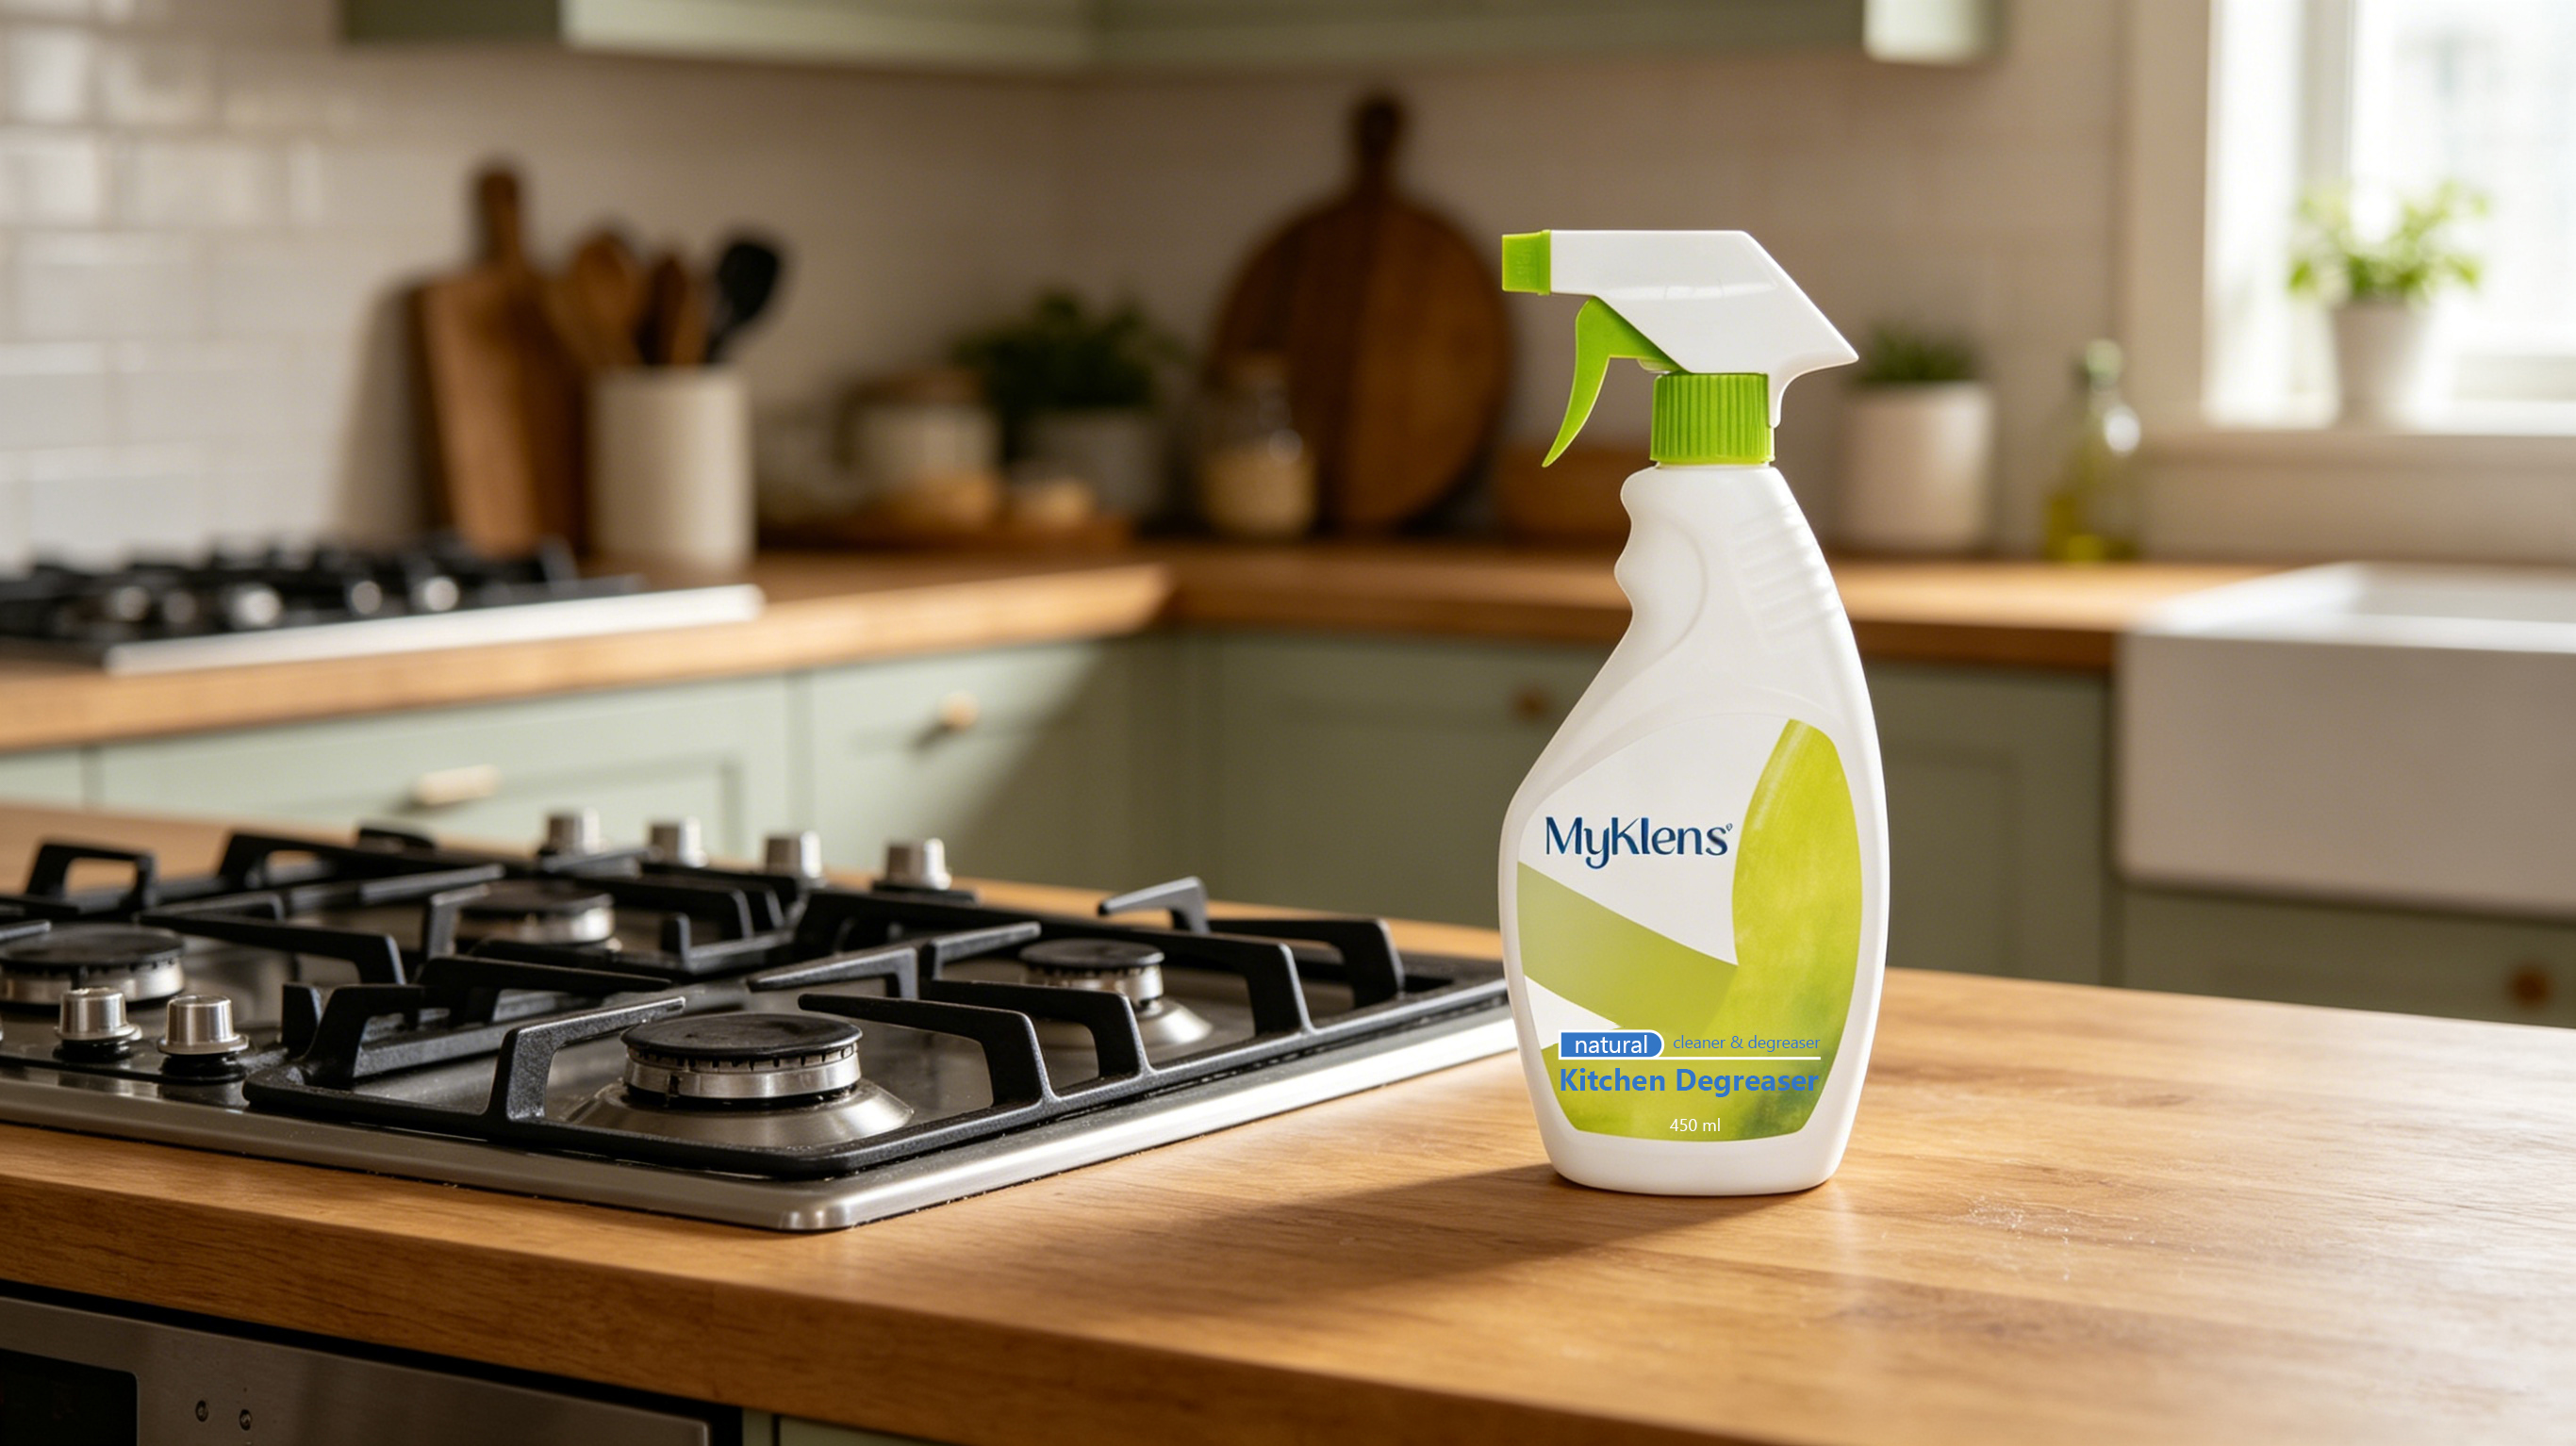
What Actually Makes a Degreaser Work?
Before we dive into how to use degreasers effectively, let's demystify what's happening at a molecular level—I promise to keep it simple.
Grease and water don't mix. We all know this. But degreasers contain surfactants—molecules with a split personality. One end loves water (hydrophilic), while the other end loves oil (lipophilic). These clever molecules surround grease particles, break them apart, and allow them to be rinsed away with water.
Quality kitchen degreasers also typically contain:
Alkaline agents (like sodium hydroxide) that saponify fats, literally turning them into soap
Solvents that dissolve sticky residues
Emulsifiers that keep the grease suspended in water so it doesn't redeposit
Understanding this helped me realize why I was failing with regular cleaners—I was bringing a knife to a gunfight.
The Hidden Cost of a Greasy Kitchen (It's Not What You Think)
Beyond the obvious aesthetic issues, accumulated kitchen grease creates problems you might not immediately connect:
1. Fire Hazards
Grease buildup, especially around your stove and range hood, is combustible. The National Fire Protection Association reports that cooking equipment is involved in almost half of all home fires. Regular degreasing isn't just about cleanliness—it's a legitimate safety measure.
2. Pest Attraction
Grease residue attracts ants, cockroaches, and other unwanted guests. Even a thin film you can barely see can be a beacon for pests looking for food sources.
3. Appliance Efficiency
Grease buildup on range hood filters can reduce ventilation efficiency by up to 70%. This means more smoke, odors, and moisture in your kitchen—and potentially higher energy costs as your ventilation works harder.
4. The Mental Load
This one's personal, but real: walking into a kitchen with greasy surfaces creates a subtle background stress. That sticky cabinet handle, that dulled stovetop—these small things accumulate into what I call "domestic visual clutter" that affects your mood more than you realize.
My Kitchen Degreaser Awakening: A Real-Life Story
I'm slightly embarrassed to share this, but three months ago, I was convinced my white kitchen cabinets were yellowing with age. They're only five years old, but the area around the stove had developed this dingy, yellowish tint that no amount of regular cleaning seemed to help.
I was genuinely researching cabinet painting services when my sister-in-law visited. She took one look and said, "Have you tried an actual degreaser?"
I'll admit, I was skeptical. But I grabbed a quality kitchen degreaser, sprayed it on a test section, waited the recommended time, and wiped.
The yellowing disappeared.
It wasn't age. It wasn't staining. It was simply years of microscopic grease particles accumulating into a visible layer that I'd been trying to clean with the wrong products.
That single experience changed how I think about kitchen maintenance.
How to Use Kitchen Degreaser Like a Pro
After my cabinet revelation, I went deep into the world of degreasers. Here's what actually works:
The Right Technique Matters More Than Muscle
1. Start with a cool surface
Never spray degreaser on a hot stovetop. Not only is it less effective, but it can also create unpleasant fumes.
2. Let chemistry do the work
This was my biggest mistake initially. I'd spray and immediately wipe. Most degreasers need 3-5 minutes of contact time to break down grease properly. Read your product instructions—but generally, patience pays off.
3. Work from top to bottom
Start with upper cabinets and work your way down. Grease drips downward, so this prevents re-contaminating cleaned areas.
4. The two-cloth method
Use one cloth to wipe away the dissolved grease, and a second clean, damp cloth to remove any degreaser residue. This prevents that sticky film some people complain about after using degreasers.
5. Don't forget the hidden spots
Top of cabinets
Range hood interior
Behind the stove (pull it out quarterly if possible)
Cabinet hardware
Light fixtures above the cooking area
The Right Frequency
Not all kitchen areas need the same attention:
Stovetop and surrounding counters: After each use (spot cleaning) + weekly deep clean
Range hood and filters: Weekly exterior, monthly filter cleaning/replacement
Backsplash: Weekly
Cabinets near stove: Monthly
Entire kitchen cabinet exteriors: Quarterly
Behind appliances: 2-3 times per year
Choosing the Right Degreaser for Your Needs
The degreaser aisle can be overwhelming. Here's how to cut through the marketing:
For Daily Maintenance
Look for ready-to-use spray formulas with moderate alkalinity. These are convenient for quick clean-ups and won't damage surfaces with regular use.
For Heavy-Duty Jobs
Concentrated formulas or those specifically labeled for commercial use offer stronger degreasing power. These are ideal for range hoods, oven exteriors, and seriously neglected areas.
For Eco-Conscious Homes
Plant-based degreasers using ingredients like citrus extracts, coconut-derived surfactants, and sodium carbonate can be surprisingly effective. They're gentler on your hands and the environment, though they may require slightly longer contact time.
For Sensitive Surfaces
If you have natural stone counters or delicate finishes, look for pH-neutral degreasers specifically labeled as safe for those materials.
What I Wish I'd Known Earlier: Common Mistakes
Mistake #1: Using degreaser on everything
Degreasers are powerful. Don't use them on wood cutting boards, natural stone (unless specified), or non-stick cookware. Always test in an inconspicuous area first.
Mistake #2: Mixing cleaning products
Never mix degreasers with other cleaning products, especially bleach or ammonia-based cleaners. This can create dangerous fumes.
Mistake #3: Ignoring ventilation
Even "fume-free" products should be used with proper ventilation. Open windows, run your range hood fan, or use a portable fan.
Mistake #4: Giving up too soon on tough grease
For really stubborn buildup, you might need to apply degreaser, let it work, wipe, and then repeat. The first application breaks down the top layers, making subsequent applications more effective.
Mistake #5: Storing improperly
Keep degreasers in their original containers, away from food, and out of reach of children and pets. Extreme temperatures can affect efficacy.
The Deeper Clean: A Seasonal Deep-Degreasing Routine
Four times a year, I do what I call a "full kitchen reset." Here's the routine:
Saturday Morning (2-3 hours):
Remove everything from counters
Take down curtains, rugs, and decorative items
Remove range hood filters
Pull out appliances where possible
The Process:
Spray all upper surfaces with degreaser
While that's working, soak range hood filters in hot water with degreaser
Wipe down upper cabinets, working systematically
Move to backsplash, then stovetop
Clean behind and beside the stove and refrigerator
Wipe down all cabinet fronts
Clean cabinet hardware
Scrub range hood filters, rinse, and dry
Finish with counters and lower cabinets
The Result:
That fresh, clean feeling that makes you actually want to cook. There's something psychologically satisfying about a truly grease-free kitchen.
Beyond Cleaning: Prevention Strategies
The best degreasing strategy is preventing buildup in the first place:
1. Use your range hood religiously
Turn it on before you start cooking and leave it running for a few minutes after. This captures airborne grease before it settles.
2. Cover pans when appropriate
Splatter screens and lids reduce the amount of grease that escapes into your kitchen air.
3. Wipe down daily
A quick wipe of the stovetop and immediate surrounding area after each cooking session prevents accumulation. This takes 60 seconds but saves hours later.
4. Address spills immediately
Fresh grease is exponentially easier to clean than grease that's been heated multiple times.
The Environmental Consideration
I'd be remiss not to address the environmental impact of cleaning products. Degreasers, particularly conventional ones, can contain ingredients that aren't great for waterways or the environment.
Here's my approach to balancing effectiveness with responsibility:
Use the minimum effective amount: More product doesn't mean better cleaning
Choose concentrated formulas: Less packaging waste, less shipping impact
Look for biodegradable options: Many effective degreasers now use plant-based ingredients
Dispose properly: Never pour undiluted degreaser down drains; follow local hazardous waste guidelines
Consider refillable options: Some brands now offer concentrate refills
When to Call in Professionals
Sometimes, DIY has its limits. Consider professional help if:
You have years of accumulated grease in hard-to-reach areas
Your range hood interior hasn't been cleaned in years (fire hazard!)
You're dealing with grease on delicate or antique surfaces
You have mobility issues that make thorough cleaning difficult
You're preparing a home for sale and need it to sparkle
Professional kitchen cleaners have industrial-strength products and specialized tools that can tackle what consumer products cannot.
The Bigger Picture: Kitchen Care as Self-Care
Here's something I've realized through my degreasing journey: maintaining a clean kitchen isn't just about hygiene or aesthetics. It's about creating a space where you actually want to spend time.
When my kitchen is properly degreased, I cook more. When I cook more, I eat better, save money, and spend quality time preparing meals for people I love. That sticky stovetop or greasy cabinet door was a small barrier, but it was a barrier nonetheless.
There's also something meditative about the process of cleaning when you have the right tools. Watching grease dissolve and surfaces transform from dull to bright is oddly satisfying. It's a task with clear beginning, middle, and end—something increasingly rare in our lives of endless emails and perpetual to-do lists.
Final Thoughts: Your Kitchen Deserves This
If you've read this far, you're probably someone who cares about your home but has felt frustrated by cleaning challenges. I want you to know that kitchen grease is genuinely difficult to clean—it's not a reflection of your cleaning abilities.
Investing in a quality kitchen degreaser and learning to use it properly is one of those small decisions that creates disproportionate positive impact. It's not glamorous. Nobody's going to give you an award for having grease-free cabinets. But you'll notice. You'll feel it every time you walk into your kitchen.
And honestly? That's enough.
What's your biggest kitchen grease challenge? Have you found a technique or product that works particularly well? I'd love to hear about your experiences in the comments below—we're all learning together.